If you are the type that is determined to get wispy, fluffy, or ultra-long lashes, then you might want to ditch strip lashes for individual lashes. Individual lashes can add length and volume to your natural ones while maintaining a natural look.
Though it takes time to apply, it is all worth it. Let’s dive in to explain the individual lashes and their application, care, and types.
What Are Individual Lashes?
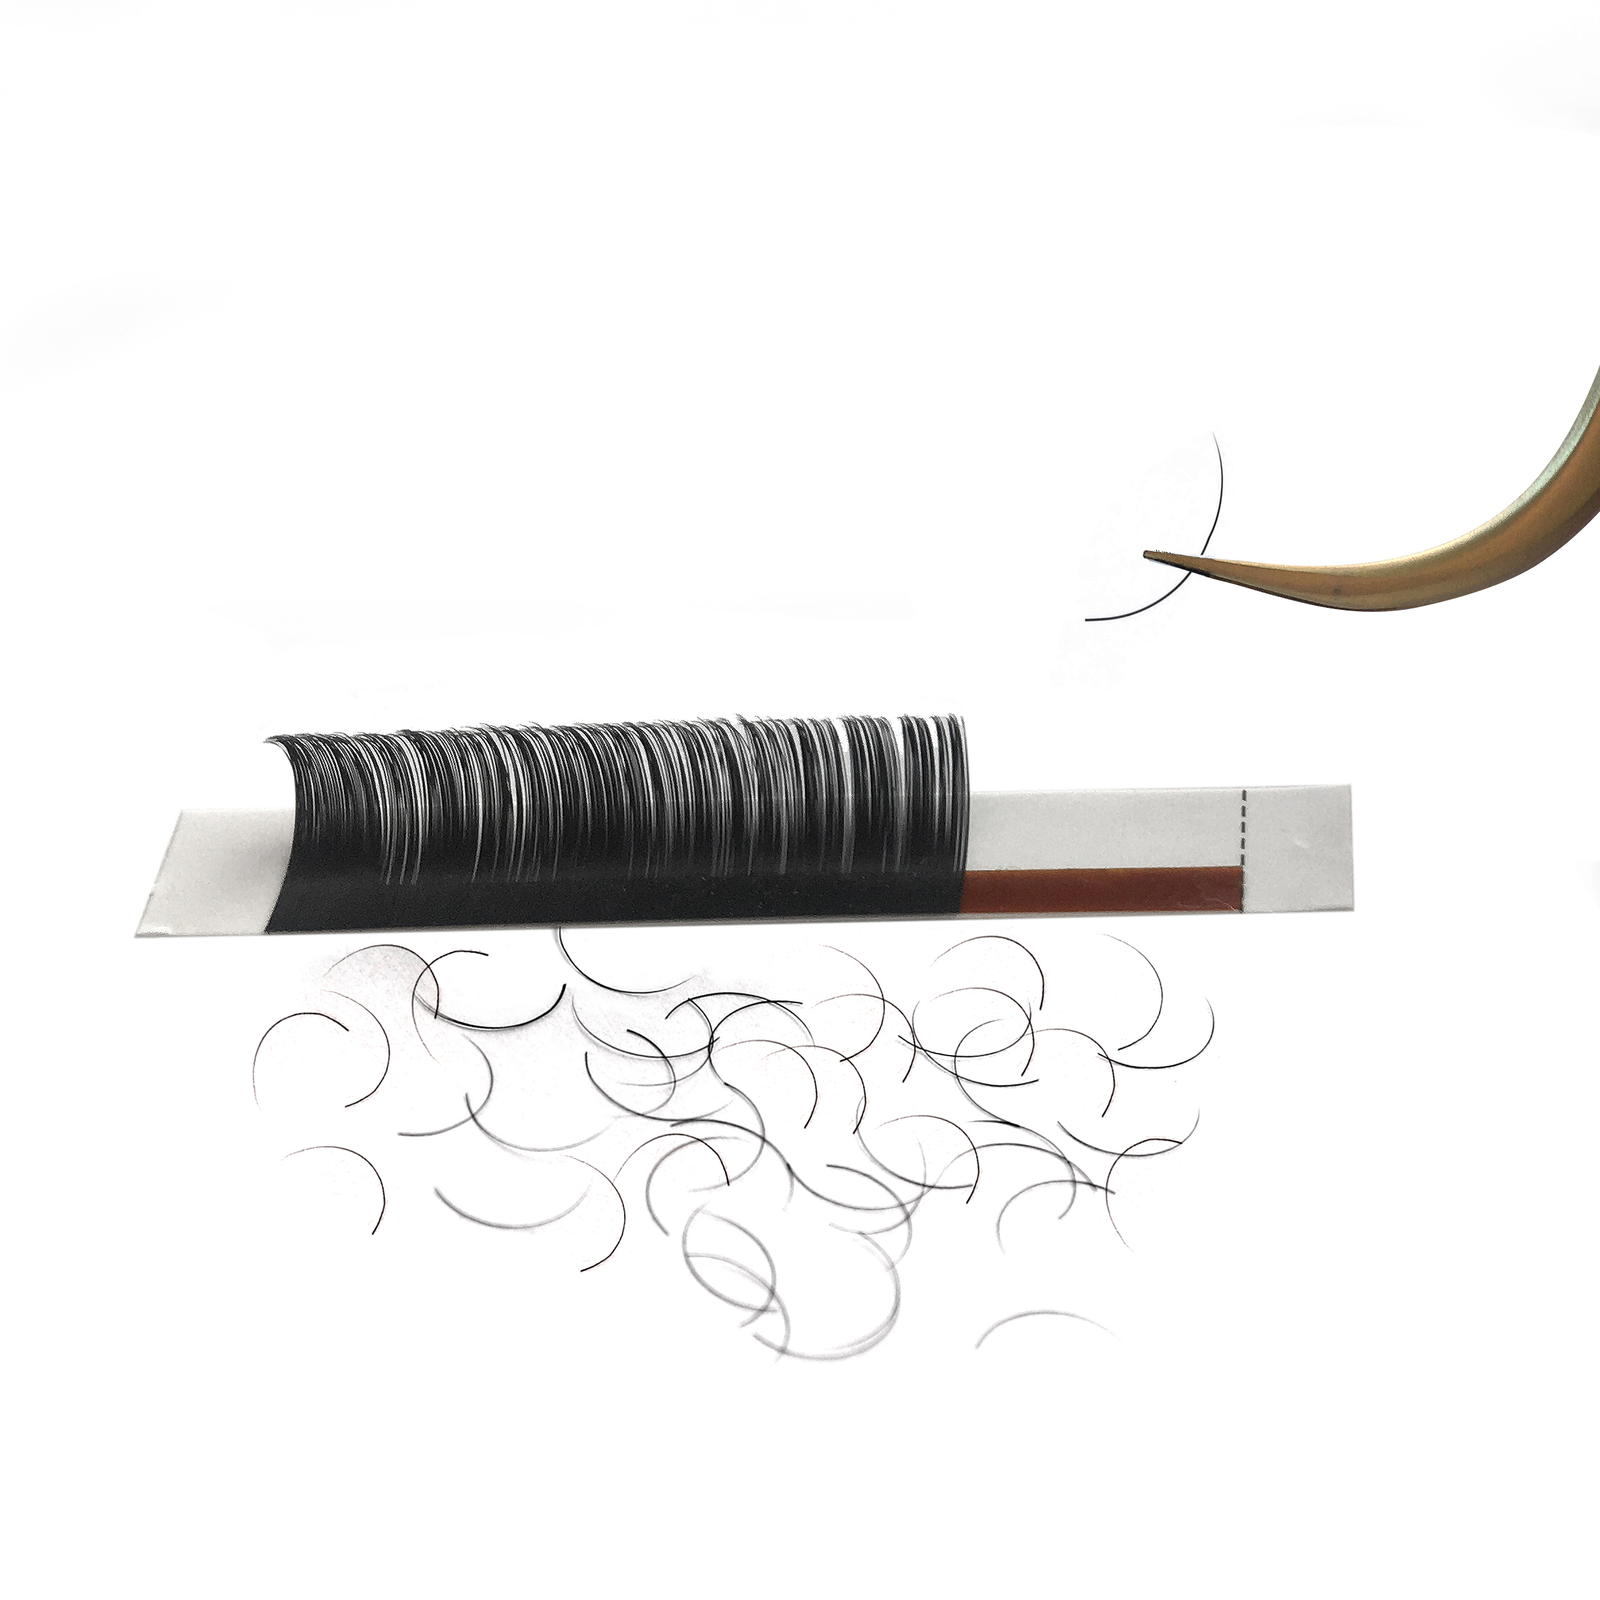
Individual lashes are groups of synthetic lashes that are attached. These lashes can be applied to the eyelid or directly to the eyelash with a temporary adhesive designed to last up to two weeks. If you are new to the lashing experience, you can think of individual lashes as an alternative eyelash extension.
In contrast, eyelash extensions are attached to the lash line using semi-permanent glue, which takes about 2 hours. It also requires infills every two to three weeks plus lots of maintenance.
While the eyelash extensions might be an excellent option for many, Individual lashes are not just one synthetic eyelash like eyelash extensions. They come in a pack and have about three to five lashes to a piece, and they can be applied the same way as strip lashes with false lash glue to stick them on and, of course, a little patience.
Pros Of Individual Lashes
1. It Takes No Time To Apply
Although many people think the individual lashes are a struggle and they take a lot of time to apply, the truth is, it takes no time at all. You must practice and learn how to correctly use the glue to the lash.
2. Individual lashes are affordable.
Unlike eyelash extensions, individual lashes are affordable and can be found in beauty supply stores everywhere.
3. Highly Customizable
Individual lashes can be highly customized on your eye to make them look anyhow you want.
4. Endless Styles
Individual lashes come in a wide range of styles to choose from.
Cons of Individual Lashes
1. They Can Be Sticky
Be careful not to sleep in them; if not, they can stick to your eyes.
2. Wet Glue
It is advisable to ensure the glue is dry before applying the lashes. Otherwise, the lashes can come off.
3. Wastes A Lot Of Lashes
Individual lashes tend to waste a lot of lashes during the application process.
Types Of Individual Lashes
Individual lashes are ideal if you have naturally sparse or thin lashes and are trying to make them look a bit fuller. Different types of Individual lashes help you achieve the look you desire. Once you apply the lashes, you will realize that they feel more comfortable and look much more natural than strip lashes. You might want to check out: Best Lashes For Hooded Eyes
1. Ardell Duralash Naturals Individual Lashes

Ardell Duralash Naturals Individual lashes are one of the best types of individual lashes designed to give more control and versatility to your natural lashes, fill in the gaps, and create fuller or longer lashes. These lashes come in 10 strands per individual cluster, and they are made with super-lightweight human hairs that won’t cause any discomfort. Each lash has its perfect curl and a unique way of staying on your eyes that keeps them in place.
2. Kiss Lash Couture Faux Lash Extensions Versus

These are individual clusters of lashes with short and medium-length strands that give a customized look. Each cluster has a flat band technology for flat roots that delivers a more natural appeal.
They also come in different lengths, creating different levels of a dramatic look. In addition, this type of individual lashes lasts up to two weeks.
3. Lashify Control Kit

The lashify control kit contains a specialized glue, faux lashes, an application wand, and a sealant to make the look last longer. If applied correctly, a complete set of lashify lashes can last up to a week.
4. M.A.C 30 Lash
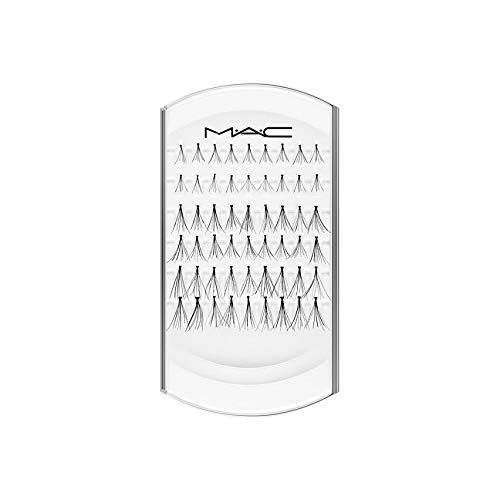
This type of individual lashes is handmade for ultimate personal customization and versatility for your lashes. They also deliver a striking effect for whichever way you choose to style them.
How To Choose The Right Individual Lashes
Individual lashes come in a wide range of single or double layers. To pick out the best individual lashes, you need to consider your natural lashes, and the best way to do this is by matching the lashes to your natural lashes in terms of length and texture.
For example, if you have light, delicate, straight, or short lashes, go for individual lashes with a short or medium length and a single-layer cluster. On the other hand, if you have thick, curly or long lashes, then a double-layer cluster would be a better option. Individual lashes also come in a wide range of styles that you can choose from; they include,
1. Bulb-Free Individual Lashes
This style of individual lashes is the perfect choice for those who want an ultra-natural appearance because they do not have a little “Knot” at the base of each cluster. They might be challenging to apply for beginners but are considered an excellent option for experienced wearers.
2. Trio Individual Lashes
If you don’t like full strip lash but want a quicker alternative to standard individual lash clusters, Trio individual lashes are your best option. This set of lashes is three flares formed together to achieve a larger cluster.
How To Apply Individual Lashes
Though many claim individual lashes are difficult to apply, some even go as far as getting them applied by a lash technician because they can’t apply them themselves. However, they are not as difficult as most people think they are. The best part is that individual lashes are some of the easiest ones to apply. To start, you will need a few materials which include,
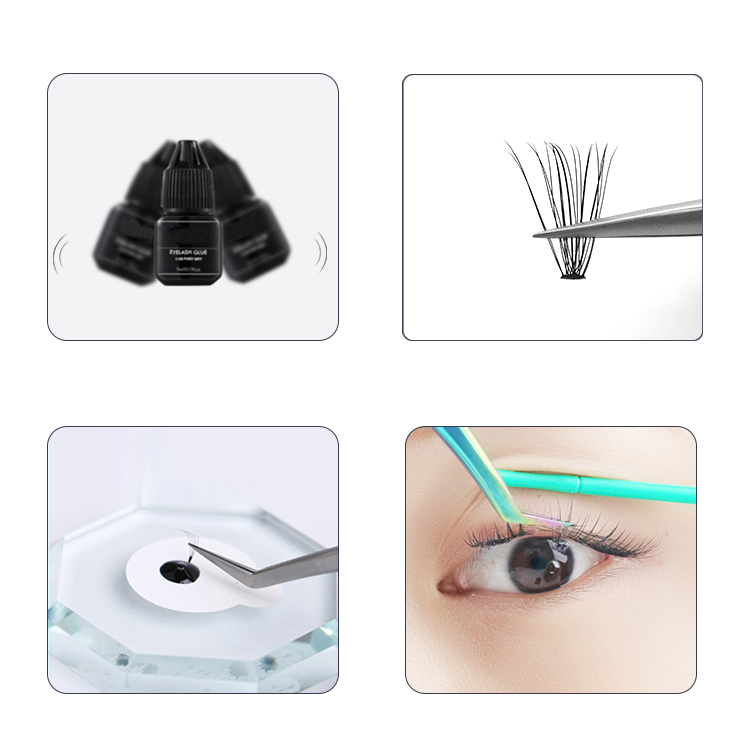
1. Individual Lash Adhesive

Selecting the suitable lash adhesive can be tricky because you might get a strip lash adhesive by mistake, and it won’t give the same results. Individual lash adhesives are designed for a long-lasting hold for up to 10 days and are available;e in a clear and nark tone finish.
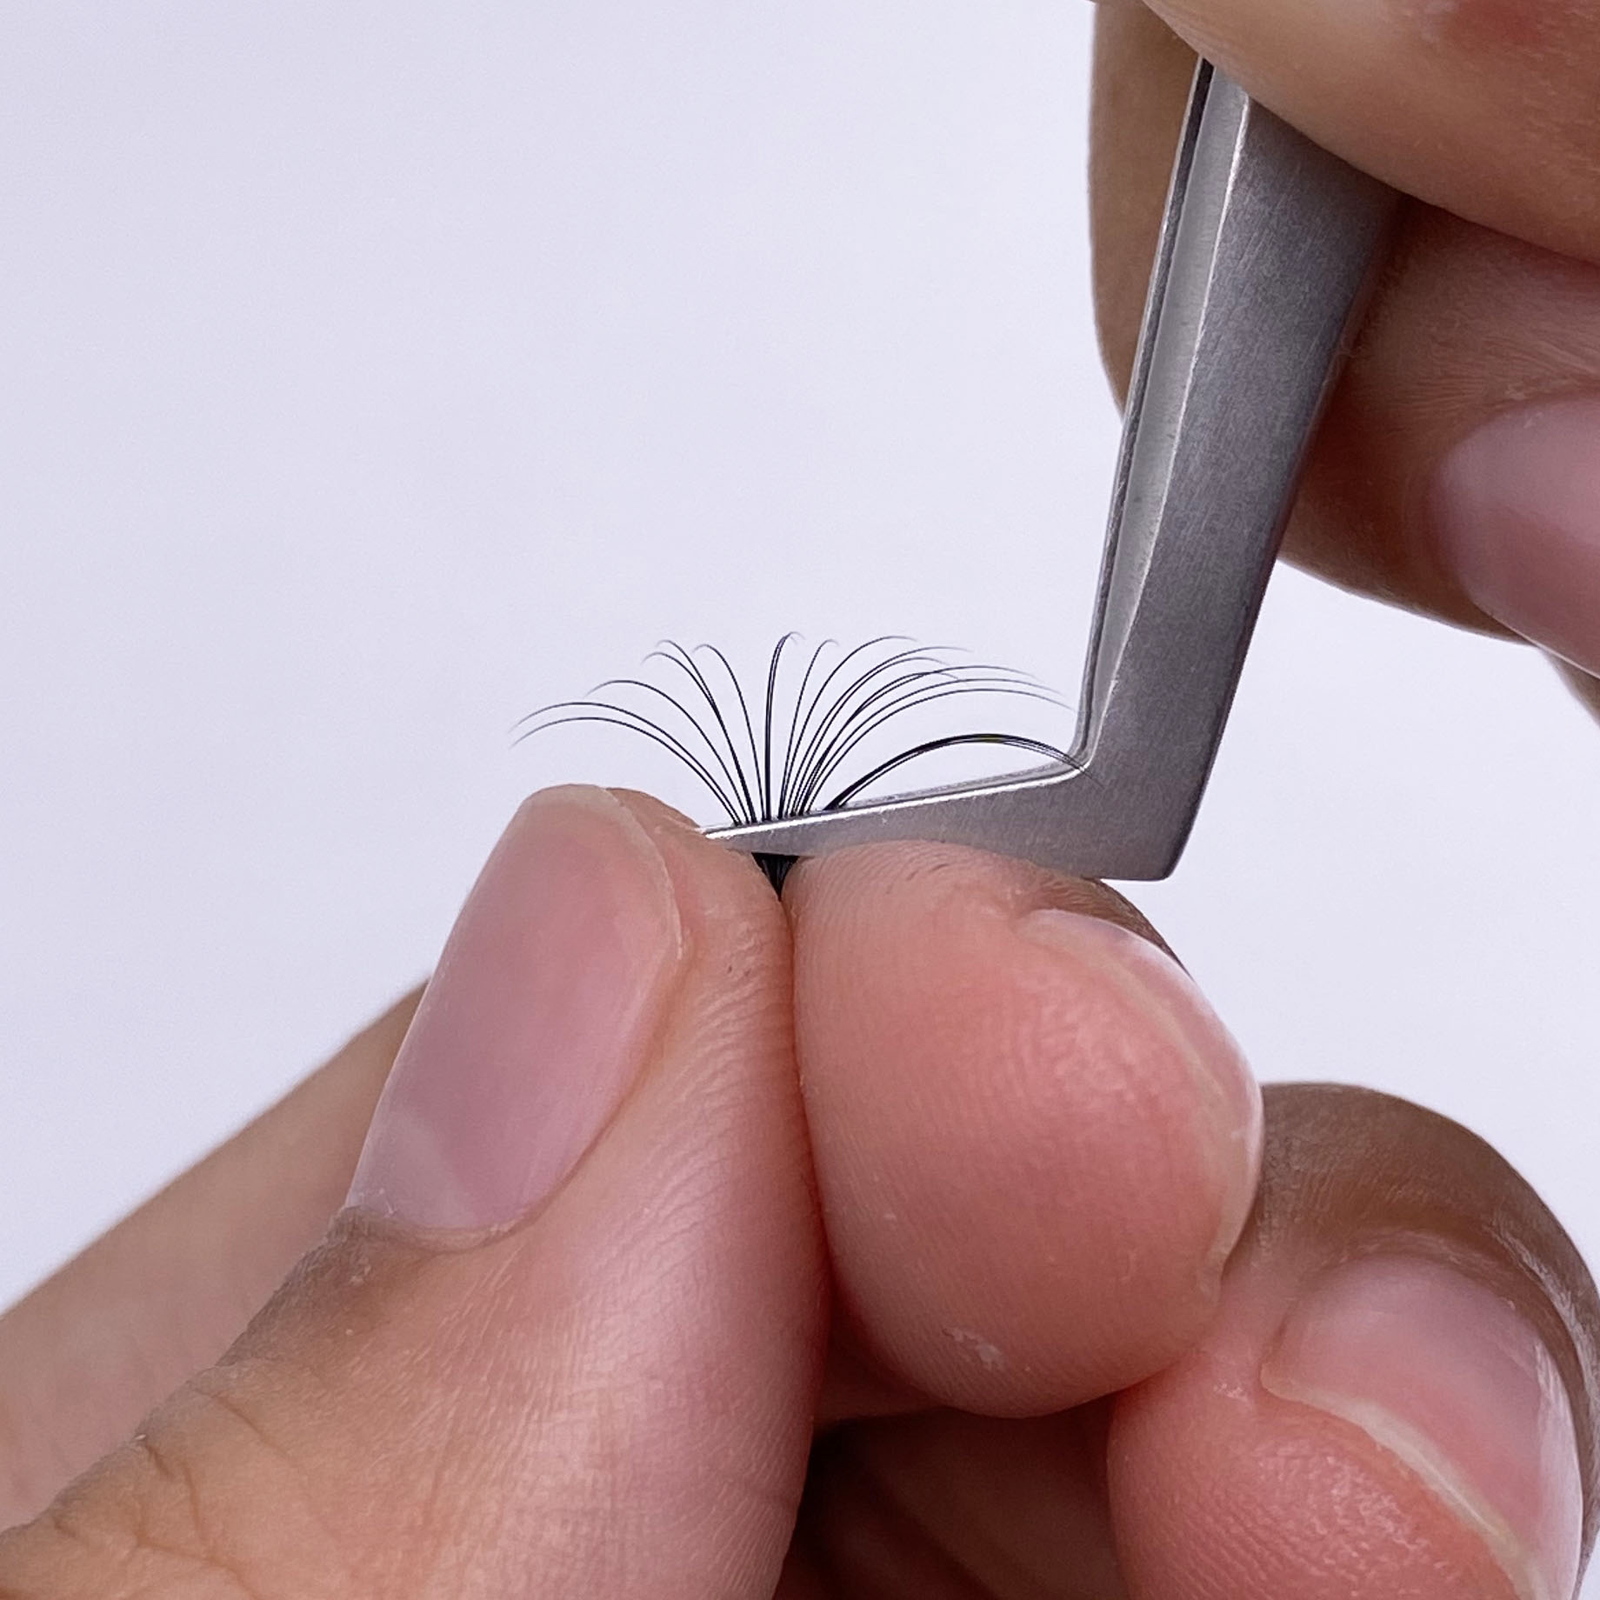
2. Tweezers

It is advisable;e to use pointed tweezers because of their tip, which is perfect for picking up each lash cluster when removing them from the tray in which they came in and applying them.
3. Individual Lashes Of Your Choice
You can choose any of the individual lashes listed above.
4. A Mirror
Get a good-sized mirror that sits perfectly on a surface in line with your eyes and face.
5. A Spoolie Brush Or Mascara Wand
This is essential to blend the individual lashes with your natural lashes.
Note that before applying individual lashes, it is mandatory to carry out a patch test to reduce the risk of infection. Using a cotton bud, you can apply a small amount of adhesive to a small area on your skin, preferably behind the ear.
Then allow the adhesive to dry and leave it untouched or uncovered for 48 hours. If there is no reaction or irritation, it’s okay to proceed with the application. If you suffer from any reaction, wash the affected area immediately and stop using the product.
Here’s how to apply Individual lashes
1. Clean Your Eyelids
Take off any makeup residue on your eyes using a makeup remover.
2. Grab Your Adhesive
Pour a few drops of the adhesive into an aluminum foil, on the back of your hand or in the plastic tray in which the lashes came. Then, wait for 30 to 60 seconds before the glue gets tacky. While waiting, you will notice that the color changes and the outer layer thickens.
This is a sign that the glue is ready. However, do not apply a wet adhesive because the individual lashes will shift around and struggle to stay in place.
3. Apply The Lashes
After your glue gets tacky, then it’s time to apply the lashes. Tilt your head backward and lift your chin to expose your eyelid and upper lash line, which is more accessible than opening one eye at a time. After this, grab your tweezers to lift an individual lash cluster from the tray. Try to be extra careful not to damage the lashes.
4. Let Them Dry
After you must have applied your desired number of lashes, leave them to dry for about 10 minutes, then use a lash curler or your thumb to clamp the lashes into your natural lashes. Once you are done, use a spoolie or a mascara wand to gently brush through the lashes blending them with your natural lashes.
How To Care For Individual Lashes
Individual lashes are high beauty maintenance, requiring great care to last longer and stay in good condition. Here’s how to care for individual lashes,
- Do not pick or pull at them
- Avoid perming the lashes.
- Avoid saunas, facials, or swimming within the first 4-6 hours after application.
- Wash your lashes daily.
- Do not use cotton on your lashes
- Do not attempt to remove the lashes on your own.
- Apply mascaras to the tip of the lashes only. Check out: How to Apply Mascara on Fake Lashes
- Avoid applying oil-based products on your lashes.
- Always remember to brush your lashes daily.
- Avoid heat. They can weaken the lash adhesive.